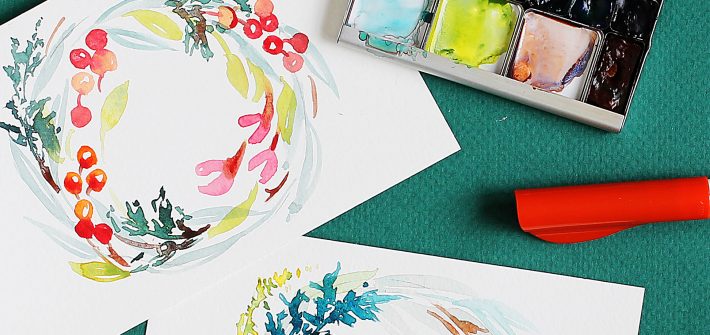
Come join me and Maria from Art Toolkit for a live demo on Tuesday, December 6th at 1pm Pacific to create colorful cards for the holidays! The demo will be HERE on YouTube and we’ll save the recording so you can watch it later. Bring your 4” x 6” watercolor paper, watercolors, a pencil, brush pen, or […]
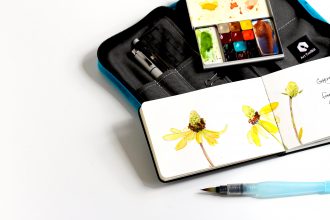
New Palette Configuration!

Do you ever dream about watercolors? I do! And I had a dream about a new Art Toolkit Folio palette configuration and had to try it! :) Say hello to my new setup for World Watercolor Month — on the left! I had been using this as a mixing palette, and decided to convert it […]
Sketching Wildflowers
I was honored to teach a workshop at Nash Prairie Preserve near the Gulf Coast of Texas, an extraordinary place protected by The Nature Conservancy. Less than 1% of the Great Coastal Prairie still exists, and barely a fraction of it is unplowed like Nash Prairie. It is truly a special place. Workshop participants sketched […]
Hero Arts Fundraiser to Support Ukraine
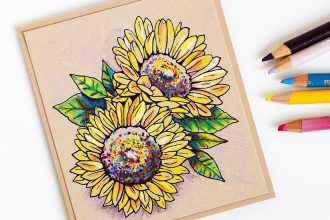
My friends at Hero Arts are doing a fundraiser to support Ukraine and I had to join in. 100% of the net profits will be donated to the Ukrainian Red Cross. Find out more on the blog. 💛💙 This is the Giving Sunflower digital download and I printed it on kraft paper and then had some therapeutic […]
Upcoming Workshop with Art Toolkit: Exploring the Desert
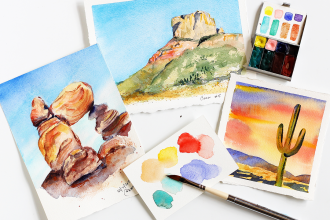
I’m super excited to be teaching a workshop on Exploring the Desert over at Art Toolkit on Saturday March 26, 10am-12:15pm Pacific and I’d love it if you joined me! Come join Lisa as we explore the desert—with pretzels, pocketknives, and paints! Put on your sun hats and pack your salty snacks as we head […]
February 10: Valentine’s Day Postcards with Art Toolkit
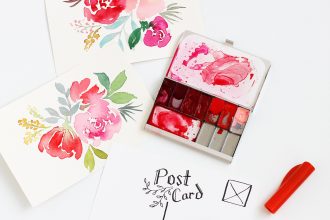
Hi friends! I’m super excited to share that I’ll be doing a live demo this Thursday, February 10th with Maria from Art Toolkit! ❤️ Bring your pink and red watercolors and join Maria and me as we paint postcards for Valentine’s Day and nerd out over pigments! ❤️ 2:00 central / noon Pacific, live HERE on […]