Hello there and welcome to my stop on the Essentials by Ellen September release hop! I’m so glad you’re here!
I was super excited to be asked to participate in the hop, even before I saw the release! Julie, Brandi and Ellen are all among my favorite humans and I’m so lucky to call them friends. I just knew they’d cook up something good, and oh man they sure did! I was sent the whole release (!!!!) and asked to focus on the Concertina Tag.
Concertina Tag!
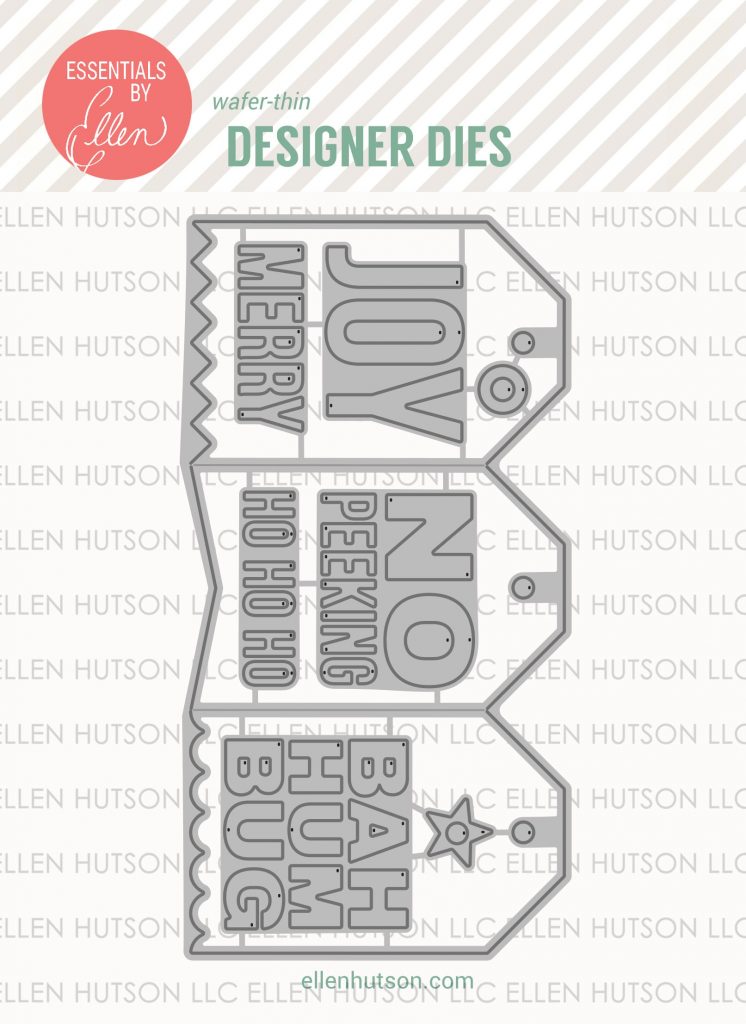
This Concertina Tag is too cool you all! Check ’em out:
There are so many possibilities with these dies! Here are just a few things that I love:
- The main tag die cuts out the tag shape and then scores it so you can fold ’em up accordion style. Besides the obvious tag shape, you could use this to make a mini gatefold card or even glue some together and make a mini book!
- It comes with that star and circle so you can put them over the holes in the tags — so classy!
- All The Words! I know I’m gonna get a ton of use out of that “NO PEEKING” especially — yeah I have a peeker here LOL! :)
I was having way too much fun and got a little carried away — I ended up making FOUR tags — plus I’ve got some more remnants to play with later!
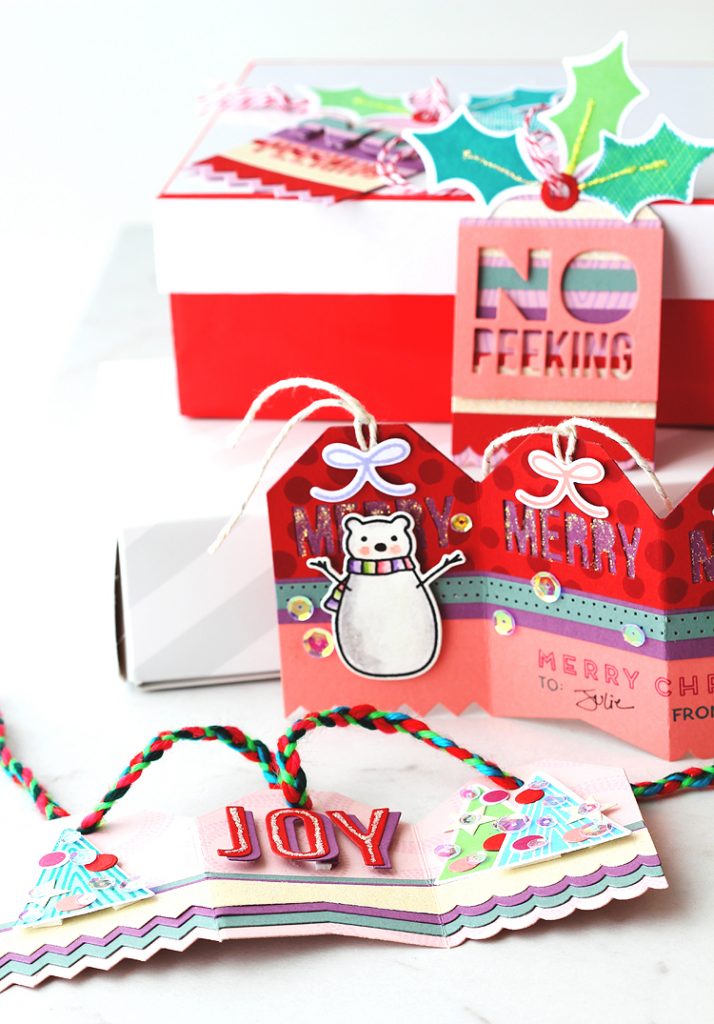
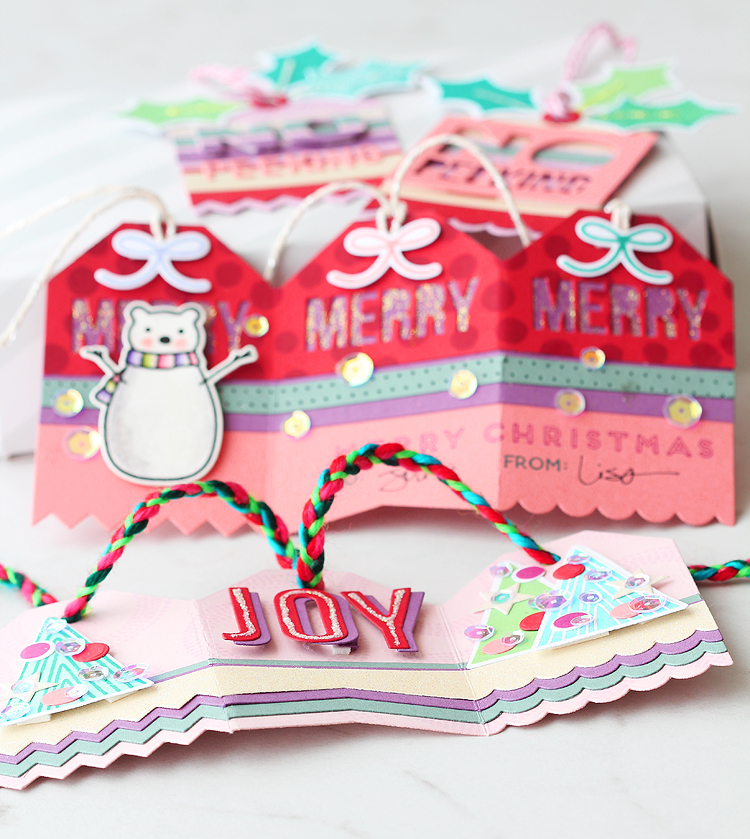
Here’s a few peeks at what I made! :)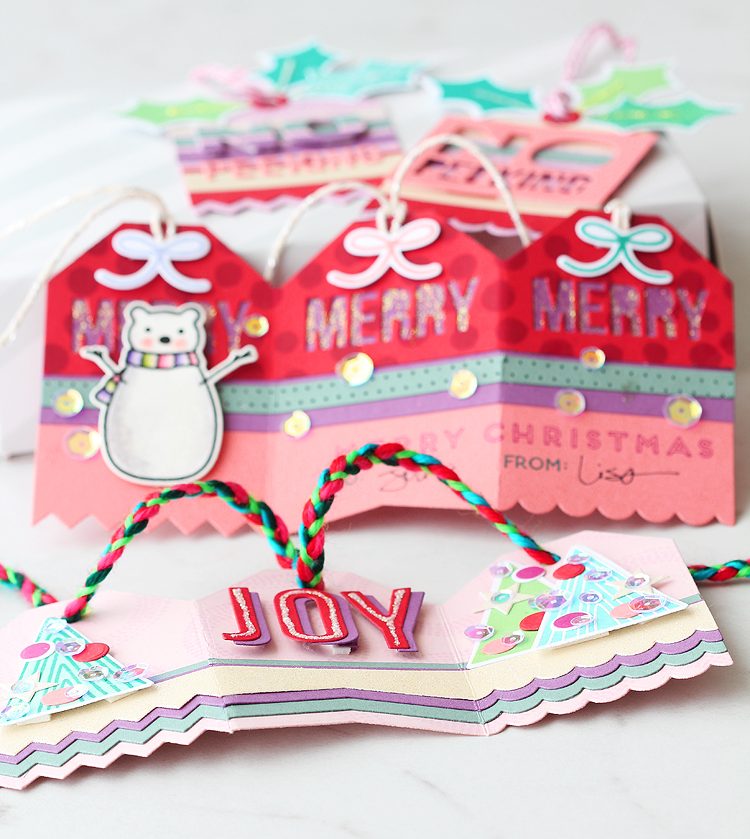
Now let me walk ya through ’em!
Color Scheme
First off, I wanted to tell you about my color scheme. You see, I love love love the Modern Christmas stamps and dies in this release, so I just had to go with a “modern” color scheme to go with them!
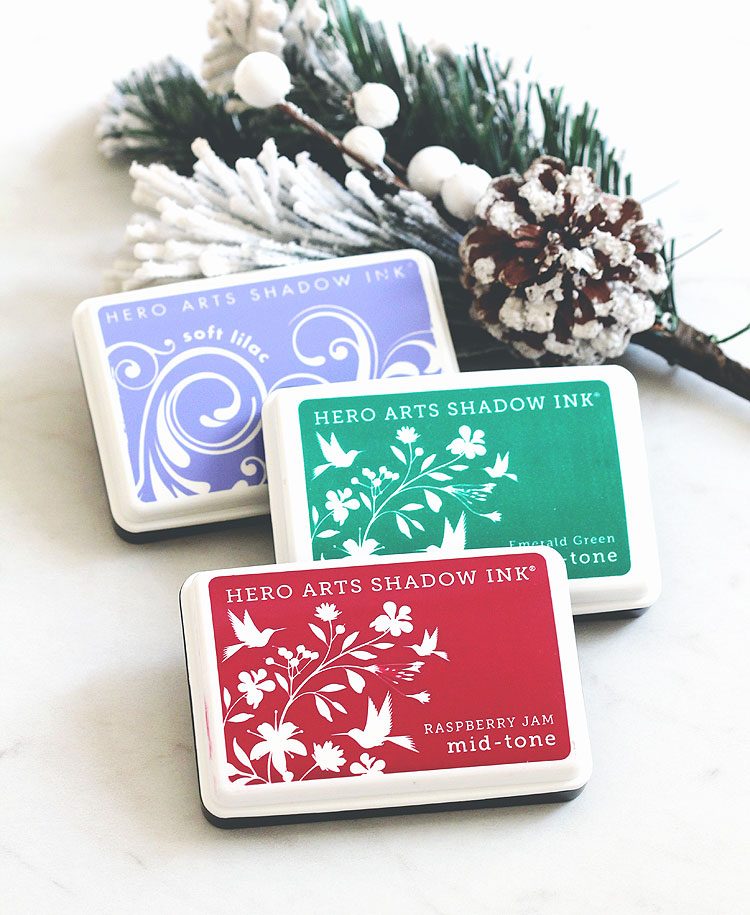
I’ll have a full supply list below, but for now just had to say that my Hero Arts Raspberry Jam, Soft Lilac and Emerald Green inks got a real workout while making these :)
Joy
My favorite way to break in a new die like the Concertina Tag is to jump right in and cut it out of a bunch of different colors of cardstock — that way I have plenty to work with! So that’s what I did here.
As I was cutting them out I had an idea!
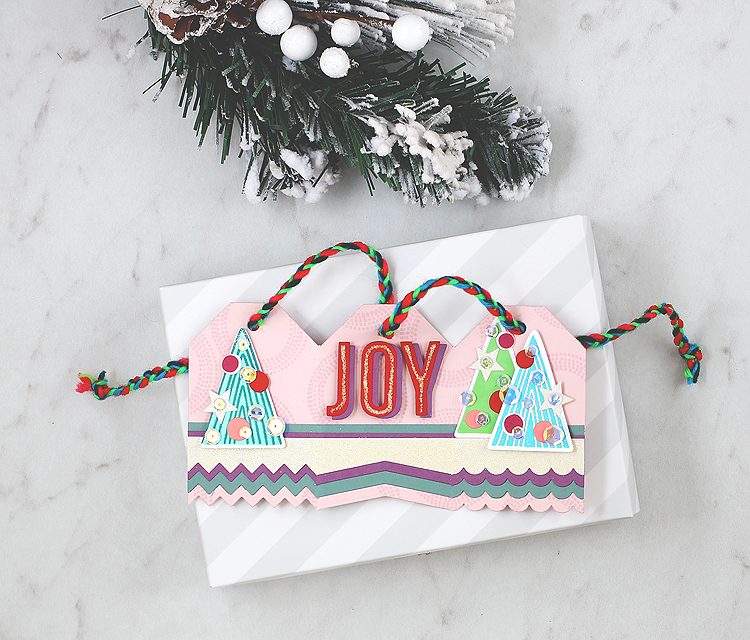
I cut strips out of a bunch of different tags that I’d cut out and layered them over each other — so cool! Just line them up and you’re good to go!
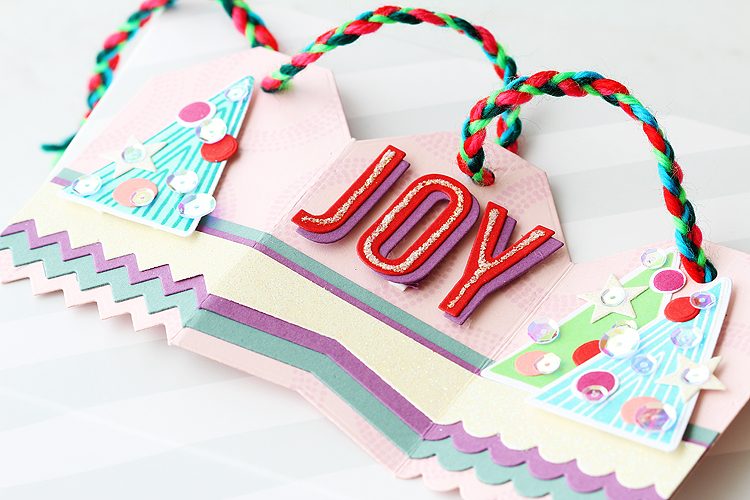
And then! Since I had layering on my mind, that gave me the idea to cut out the “JOY” twice to make kind of a drop shadow! So cool, right? I added a bit of Diamond Stickles to the center really pop. You could do this trick with the other words that come in the Concertina Tag set too — would be fun to do it with the “NO”! Ha! :)
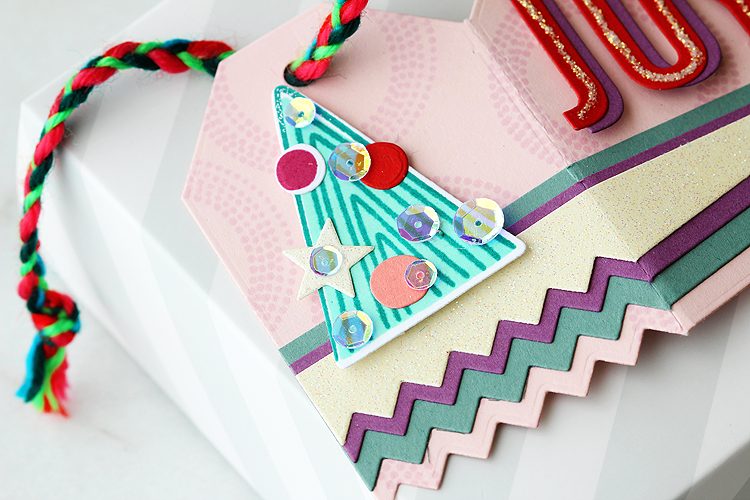
I added some trees from the Modern Christmas stamp set, and blinged them up with star ornaments cut from glitter paper. Now, the stars actually have a hole in the middle so that you can use ’em over the holes in the tags. Buuuuut, I decided to put Magic Sequins in the middle to hide the hole. Double bling for the win!
Just had to add that those Hero Arts mid tone inks work so great when stamping solid images like this. You get such nice, even coverage.
Now on to my next tag…
Merry Christmas
I kept this one on the simple side, but added a few little details…
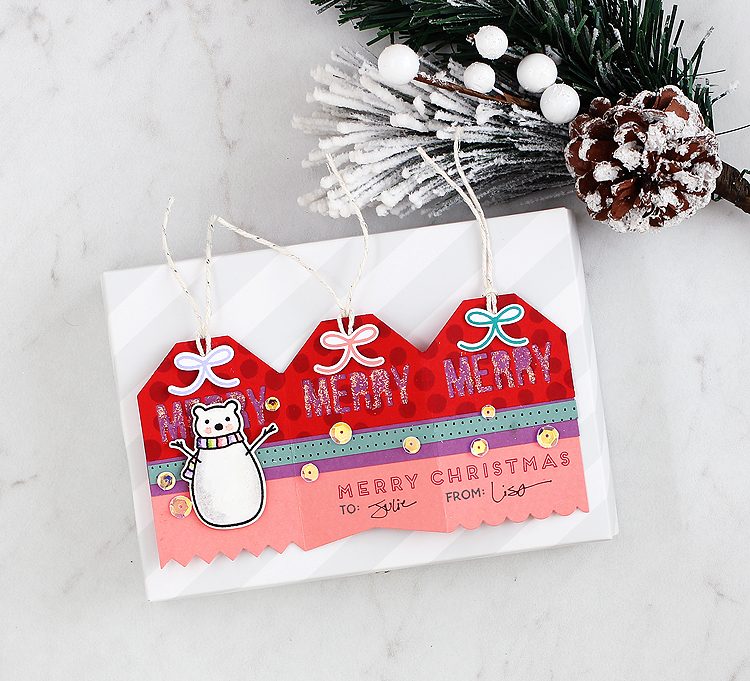
I started out by stamping a tag cut from red cardstock with the dots from the Modern Christmas set in raspberry jam ink, then I cut it about a third of the way down from the top.
Next I die cut the “MERRY” word that’s in the Concertina Tag set from that three times, and then layered it over a purple tag strip, and then BOTH of these layers were adhered to a full pink tag!
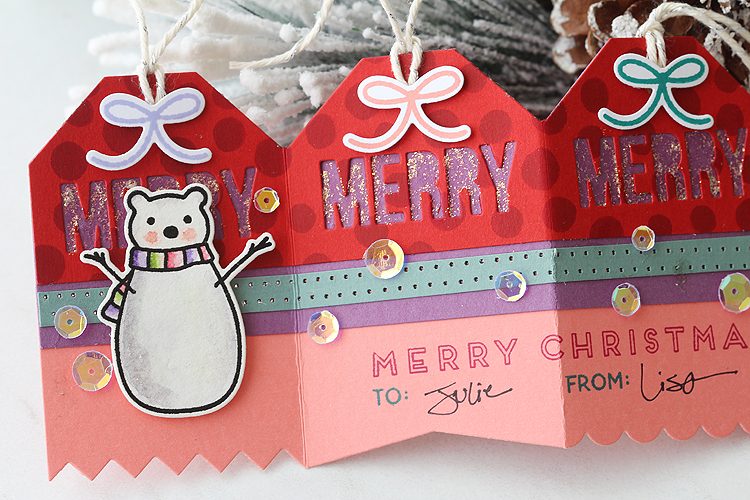
I made that “MERRY” even merrier with a little glitter :)
Yeah, I like my glitter on Christmas cards! Here’s a little tip for ya: I applied the glitter by squirting some out on scrap paper and then I used an old paint brush to put it on there. That way I didn’t have to worry about a big ole gob coming out and ruining it. :)
Then, I just had to add the little snow bear from the Bear Wares 2 set! Ahhhh it’s so cute! I cut him out with the matching Bear Wares 2 dies — love having matching dies when it comes to cutting out arms and things like this. Added more glitter to him, too!
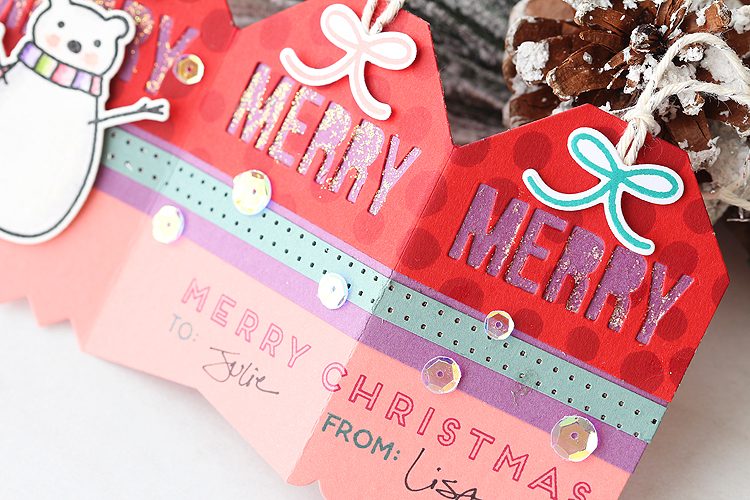
I finished up the card with some lil bows from the Modern Christmas set, and cut ’em out with the Modern Christmas dies. Then I added a few Like Magic sequins and that was that!
Now for my last 2 tags!
No Peeking
For this last set of tags I started out by cutting a Concertina Tag out of light purple cardstock and then I stamped all over it with the outline tree from the Modern Christmas set using soft lilac ink. I think it kinda looks like woodgrain!
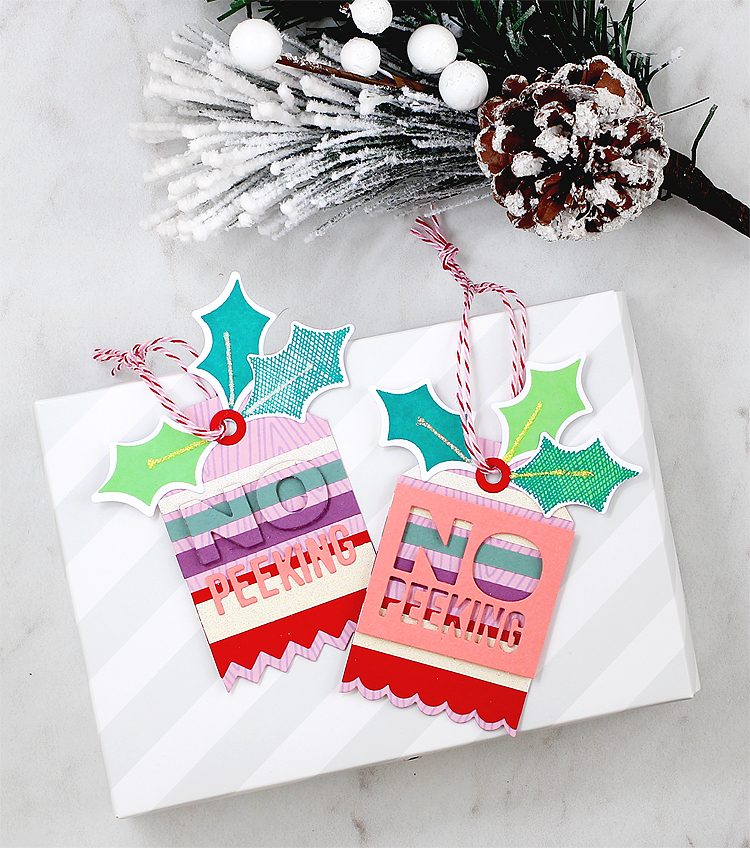
Then I layered leftover strips of tags across the whole purple Concertina Tag and cut it along the score line so I’d have 3 tags.
I die cut the “NO PEEKING” that comes in the die set out of one of ’em and then adhered the “NO” over top of another using foam dots — love how it really pops!
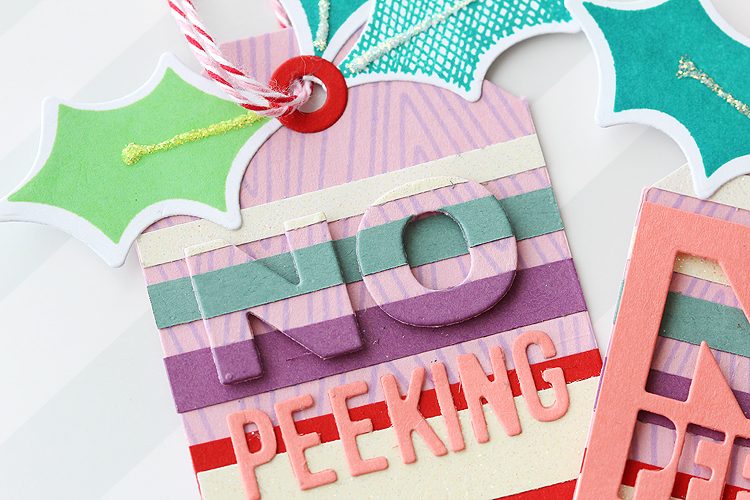
Then I cut the “NO PEEKING” out of a pink scrap, and glued the “PEEKING” under the striped “NO” to finish it off.
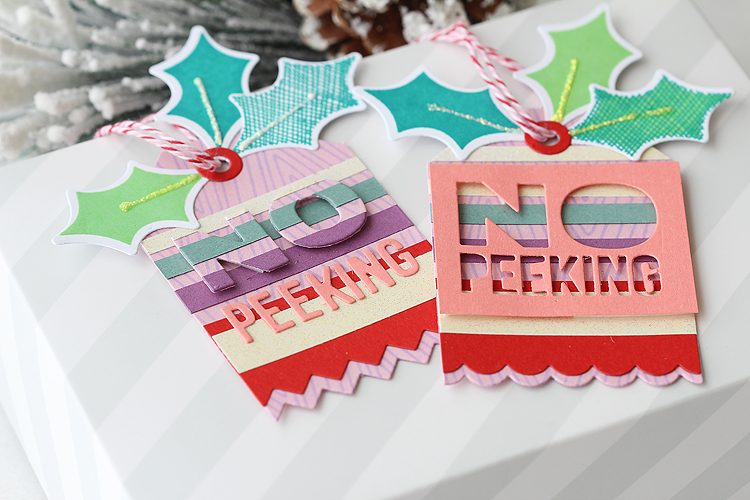
I couldn’t let that negative shape go to waste, and adhered it over top of a second tag.
Then for both of them, I stamped a trio of holly leaves from the Modern Christmas stamp set, die cut them with the matching dies and added them to the top, along with a red circle from the Concertina Tag set. I added some dimension to the holly by adding the main vein of each leaf with a line of glitter — because by now you know me and glitter! Ha!
Hop On
Your next stop on the hop is the super talented Audrey Tokach — I can’t wait to see what she’s made! If you are just now joining us or come across any broken links you can head on back to the start over at Ellen Hutson.
Here’s the full hop list for today — come back and join us for more fun the rest of the week!
- Ellen Hutson LLC
- Mod Christmas –Julie Ebersole
- Baker Lady –Brandi Kincaid
- Bear Ware 2 – Amy Yang
- No Peeking – Carly Tee Minner
- Concertina Tags – Lisa Spangler <– you are here :)
- Baker Lady – Audrey Tokach
Supplies
Here you’ll find the main supplies that I used for these projects. Note that these are affiliate links, so if you use a link to make a purchase I’ll receive a small commission at no charge to you.
Essentials By Ellen September release
Inks
- Hero Arts Raspberry Jam
- Hero Arts Emerald Green
- Hero Arts Green Hills
- Hero Arts Mint Julep
- Hero Arts Tide Pool
- Hero Arts Soft Lilac
Bling
- Diamond Stickles – I almost can’t make a Christmas project without these!
- Neat & Tangled Like Magic Sequins – these sequins really are like magic — they pick up the colors around them and go with everything


Awesome job !!!! Everything is sooooo cute and fun and Christmassy !! I’m guessing the “No peeking” word can be pretty useful !! Lol !!
Oooo these tags are so cute!!!! Love the combination of the release
Lisa, you have wonderful taste in humans!!! Aren’t they a trio of terrific?
LOve your knack for combining colors I’d never think of … of course, my favorite color is gray – what does that tell you?!
Fabulous projects!
=]
Don’t you just love how paper crafters “keep it simple”?! We just can’t seem to quit, can we. Thanks for such a good job showing off the tags. I especially like the layered one!
Lisa these tags are just fantastic! I love your modern color scheme and happy bits of glitter!
Lisa, these are so fun! All of the happy colors and cute die cuts make me smile! Thank you!
All of your tags are fabulous Lisa! When I got the concertina tag I wasn’t quite sure how I would use it, but you gave me so many great ideas!
Super cute! I love the striped “No Peeking” tag so much!
A party for the eyes!
Such cute tags…x 3!
I like your fun and colorful tag designs.
Cute tags
The tag die is terrific. Love your modern colors and I can see you had a blast making all these lovelies. Thanks for sharing.
These are Gorgeous!! The more I see the more I am feeling like making some Holiday creations 😊!! Thanks!!
These tags are amazing! So many details and the color scheme is great.
Beautiful tags, love using up scraps too!
Cute tags! Thanks for showing so many ways to use them!
Wonderful creations with these concertina tag dies! Awesome coloring and details on each of these beautiful projects!
Hi Lisa!
You did an amazing job with these dies!!!! I love the stacked look! Such beautiful projects!!!
Thank you for sharing!
Hugs,
Jo in Jersey
♥ Jo’s Scrap Shack ♥
I love the concertina tag die and your creations are all so cute(and colorful)!