Hey hi and hello there! I’m so happy (and honored!) to be hopping along to celebrate Neat & Tangled turning FOUR! Hooray!
I’ve been lucky enough to get to hang out and stamp with Danielle, the owner of Neat & Tangled, and she is one of my heroes. (Plus we both like the same kind of food — yes! If she lived closer I’d be baking her a cake and taking it right over!)

If you are just now joining the fun, you can head back to the start of the hop right here.
Two Cards!
I just may have gotten a little bit carried away — I ended up making TWO cards. But I have so many ideas! I could have kept going and going and going and well you get the idea lol!

Now how about a closer look at each card, plus I have a few tips and tricks to share too.
Card #1: With Zig Clean Color Real Brush Pens

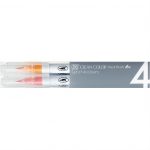
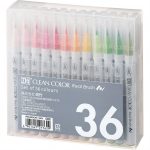
For my first card I decided to try coloring the Hooray piece with Zig Clean Color Real Brush pens. What a long name, right? But oh man, they are so pretty and vibrant. I’m just getting started with the markers so I only have a few — for NOW! But I kinda want them ALL! (See supplies at the end.)
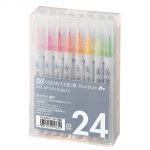
I first purchased this set of “pale” colors — I put pale in quotes because they are really vibrant! I used the light blue, light carmine red and bright yellow on this card. I’d say that if you want try them out start with this set. I sure wish I’d grabbed this set of 36 to start with tho! Just sayin’. There’s also a set of 24 that’s really good too.
I started out by cutting the Hooray out of watercolor paper, and I made sure to save all the little bits in a bowl so that I could reassemble it later. Just have to say that I think Danielle is an absolute genius: there’s only 5 pieces to save if you wanna do this. YES!

My go-to watercolor paper for cardmaking these days is the Kid Made Modern pack from Target — you can find it in the craft aisle (IF I haven’t been to your store and bought it all hahaha!) I love this paper since it’s smooth for stamping on, yet takes paint really well. And you can’t beat the price.
Since I used thicker watercolor paper the flower centers didn’t cut out — but that was okay by me. I wanted to let ya know that they cut out just fine from regular cardstock.
I began by coloring the wreath part with the markers and using a waterbrush to blend them together.

Then my secret trick! I used a black glaze gelly roll pen to color the “hooray”. Love love love how this gives it some shine! I’ve tried using glossy accents before and I must confess that I just end up making a blobby mess. So the pen’s the way to go for me. Then I added some pen to the centers of the flowers.

I pieced the wreath together and added some washi tape on the backside to hold all the pieces in place. Then I finished off the card by white heat embossing the “it’s your birthday” sentiment from the Celebrate set and tucking it under the wreath.

And that was that! I mailed this card to my step-mom on Monday for her birthday — sure hope she likes it!
Now on to…
Card #2: Gouache, Watercolors, and NEON!
Here’s the finished card — it’s super hard to capture that neon glow! I sure wish you could see it in person.

I’ve been noticing little pops of neon here and there lately. It’s not full blown/in your face neon, but a more subtle neon that I really like.
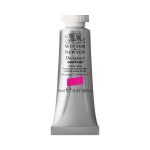
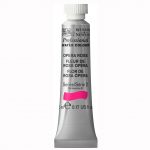
For this card, I started off by painting a background with watercolor. I mixed up a peachy coral pink color by blending opera pink, red and orange paints until I got it how I liked it.

Then I trimmed some watercolor paper to make a 4.25″ square card and scored it but didn’t fold it. I grabbed my artist tape and taped off a border, and taped it to a cutting mat that came free with my blender at the same time. Taping your paper to something like this will help keep the paper from warping as it dries.
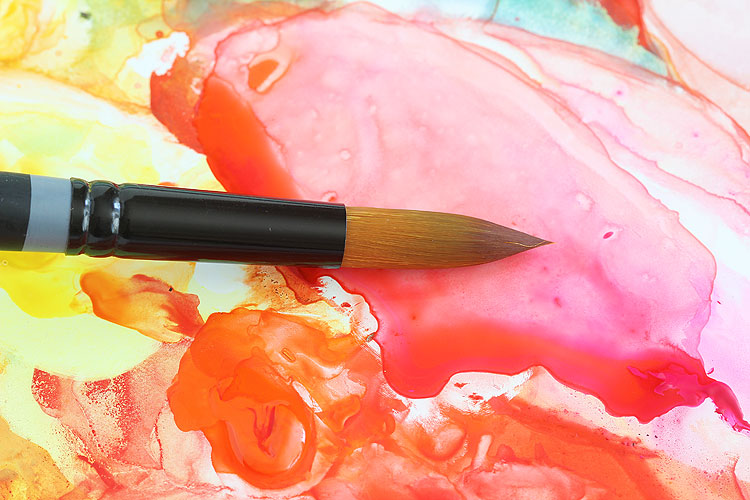
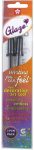
Then for my BIG trick! I grabbed my biggest brush — which in my case is a size 30 round — and I loaded it with color and painted the background.

I’ve found that using a big brush like this means you can pretty much cover a whole card with your loaded brush — which is great because unlike using a smaller brush you don’t have to fuss over blending colors after you’ve run out of paint and have to load it again. I got my brush at my local Jerry’s Artarama store — so dangerous having this awesome art store in town! — but you can find it online here. It was really inexpensive — I think I got it on sale for around $10.
I also started using a butcher tray as my watercolor palette a few months ago and I have to say that I love love love it! It’s so great to be able to mix colors with abandon. I don’t clean it between uses unless I mix up a truly horrible color — and then I only clean that one spot with a baby wipe. When I run out of paint I just squeeze more on there. Storage is super easy if you have the famous Alex drawers from IKEA — the tray will just slide right underneath the unit. YEAH!

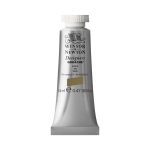
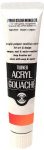
While the background was drying I started working on the wreath. I first cut another wreath out of the same watercolor paper as before, but this time I colored it with gouache. I’ve been totally addicted to gouache lately! Here I used lumi red and opera rose for the flowers, then gold gouache for the “hooray”. I love how intense these colors are!
I also watered down both colors and use that to color some of the flowers for a little variation.
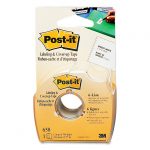
Now for my little trick! I wanted to cut the wreath out of the center of my base card, so I needed to make sure it was straight. I had a little AHA! moment and lightly taped my colored wreath to the die just so I could position it. I used this post-it note® tape — I keep a roll right next to my die cut machine and it always comes in handy!
Then I removed the wreath before running it through the machine.

Worked like a charm!
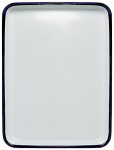
And then! I decided to make this card a little different and backed the die cut area with acetate, then I adhered the wreath on top.

I adhered some gold foil polka dot paper behind the acetate so that it would hide the glue.
I thought about adding some sequins to this card — but in the end I decided to keep it clean and simple. I did stamp the birthday same birthday sentiment that I used on the first card on the inside in gold ink.
I popped this one in the mail for my MIL on Monday — sure hope she gets it before she sees it here — she follows my blog hahaha! Hi Mom! Love you!
Hop On & Giveaway!
Your next stop on the hop is the amazing JULIEEEEEEE E!!! I can’t wait to see what she’s made — she always rocks my world! Here’s today’s list in case ya need it:
- Neat and Tangled Blog
- Lisa Spangler <– (that’s me!)
- Julie Ebersole
- Kelly Latevola
Don’t forget: Neat & Tangled is giving away one $50 gift certificate and one $100 gift certificate to the Neat & Tangled Store. The two lucky winners will be chosen from ALL the comments so be sure to comment at all stops on all five days!
Just have to say one more time: Happy Happy HAPPY Birthday to everyone Neat & Tangled! Big huge hugs, Danielle! So happy for you!!! HOORAY! xoxo
Supplies
Here are the main supplies that I used. The links to Amazon (AZ) are affiliate links, so I’ll receive a small commission if you make your purchase by clicking the link. There’s no extra fee to you! :)

I LOVE what you did with this wreath. There are so many ways to use it & you showed some great ideas. Thank you
Beautiful cards! Love the colors,and the tip on the black jelly roll pen.
Such great cards !!!
Hooray, Lisa, both cards are just lovely. Thanks for your clever tricks, too. What a fun hop and so many great new products. Congrats to Neat and Tangled on 4 awesome years!
Gorgeous project, Lisa! You make this intricate die come to life. I love the mix of colors and the inlaid design is simply superb in this!
I love both the cards! But the one with the gold hooray is my favorite !!
I love dots and I love bright colors – perfect combination – stunning cards!
Wow your cards are pretty. Thanks for sharing how you lined up your wreath to cut your base.
Love both of these wreath cards!
Your incredible cards showcase the versatility of that amazing die and your own creativity. I can tell you have fun with the markers, and you have me itching to get a set! TFS!!
Beautiful cards – you’ve showed the wreath off wonderfully!
Darling cards.
Wow!! Stunning cards!!
Love the card you made using the Zig pens. So colorful!
Could not pick a favorite love them all
So pretty! Love your wreaths and all the colors. Great job showcasing the Hooray die!
The cards are really beautiful. You showcased the products so perfectly. Thank you for the inspiration.
Beautiful cards…..and such a creative technique!!! :) Hugs…Janie
Pretty cards. Love how you used the wreath. TFS
Neat & Tangled have the BEST dies. This Hooray wreath is great!!! Love the gold dot acetate in your background.