Do you ever have an idea pop into your head and you HAVE to try it? That’s what happened to me the minute I saw the newly released Never Ending Fringe dies! Something in my brain just shouted “tissue paper and felt!”
Find my tissue paper fringe card HERE — now for the FELT version!
This came together so well it almost doesn’t need an explanation — but thought I’d pass along some tips and tricks.

First tip: I’ve found that wool felt works best and I listed some below. I tried fabric but it was no bueno — too fringy lol! The felt gives enough “body” to the flower.
Second tip: the Never Ending Fringe has 3 sizes of fringe, and I found the widest width fringe works great for the petals, while the skinniest is best for the flower centers.
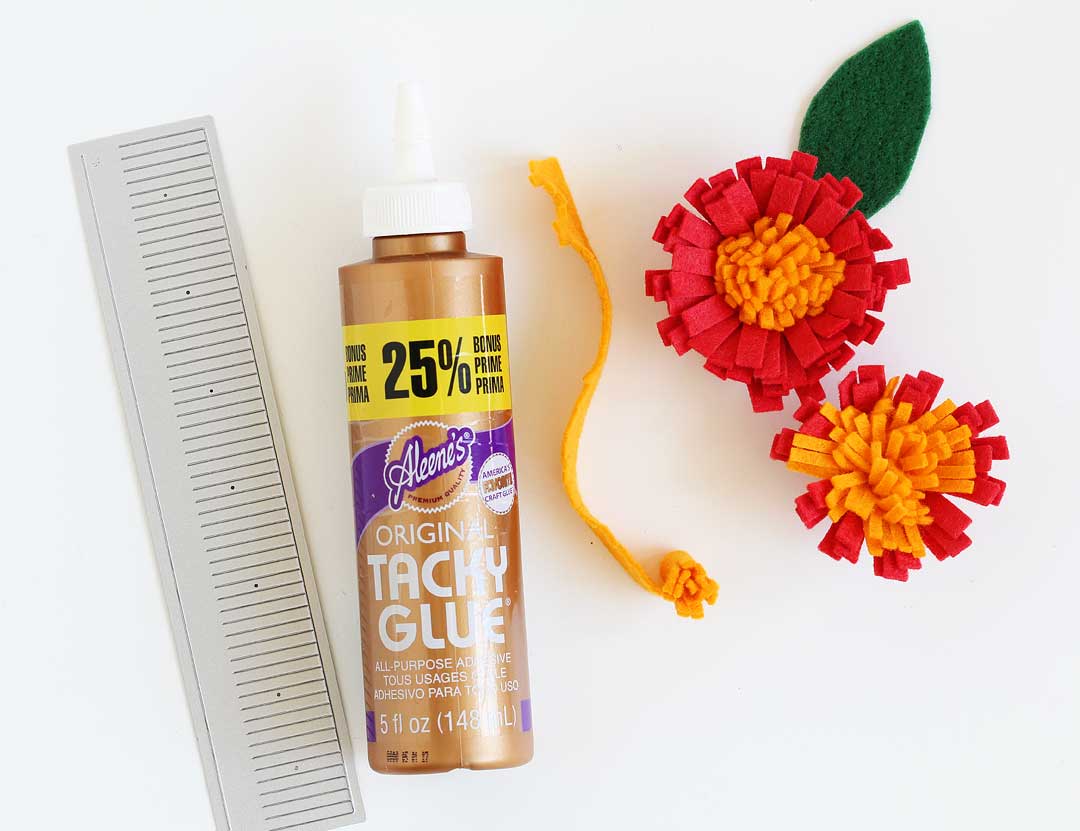
After cutting the felt, just add a bit of glue and roll it up! I like tacky craft glue but I bet hot glue would work a-okay. I cut the lil leaf freehand.
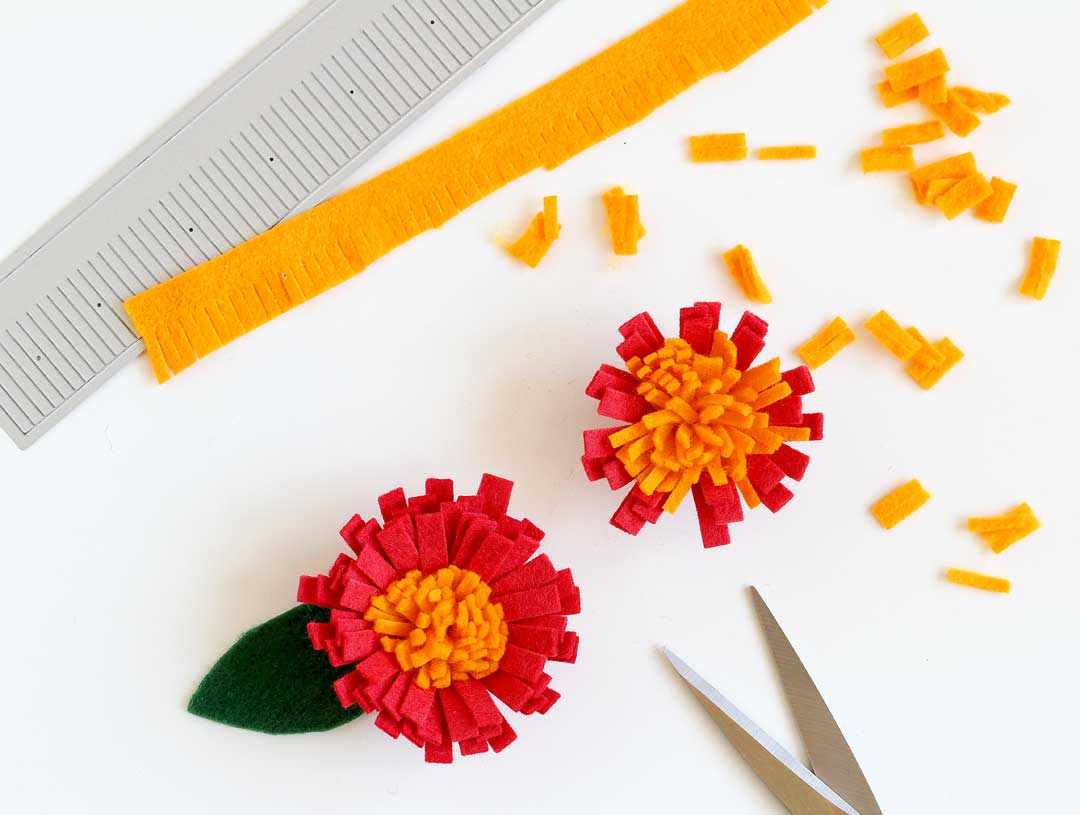
Last tip: after cutting the felt for the center, grab your scissors and trim some away — this will give ya a more compact center as in the flower on the left. But both versions look great!
Wait! One more tip :) Make sure you stock up on whatever color felt you’d like to use for the centers — I gotta get more of that golden yellow!
- These can be used for so many things:
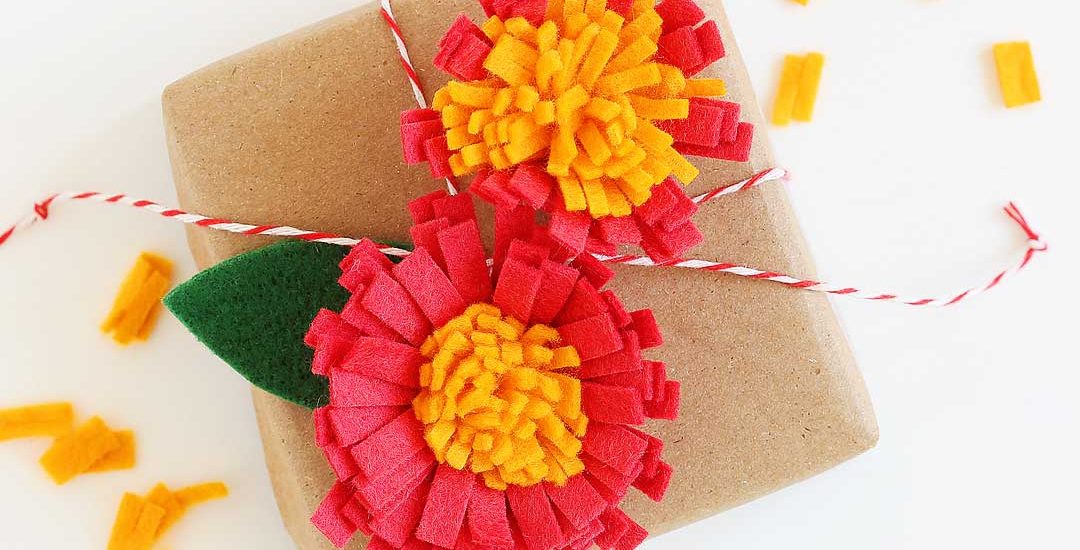
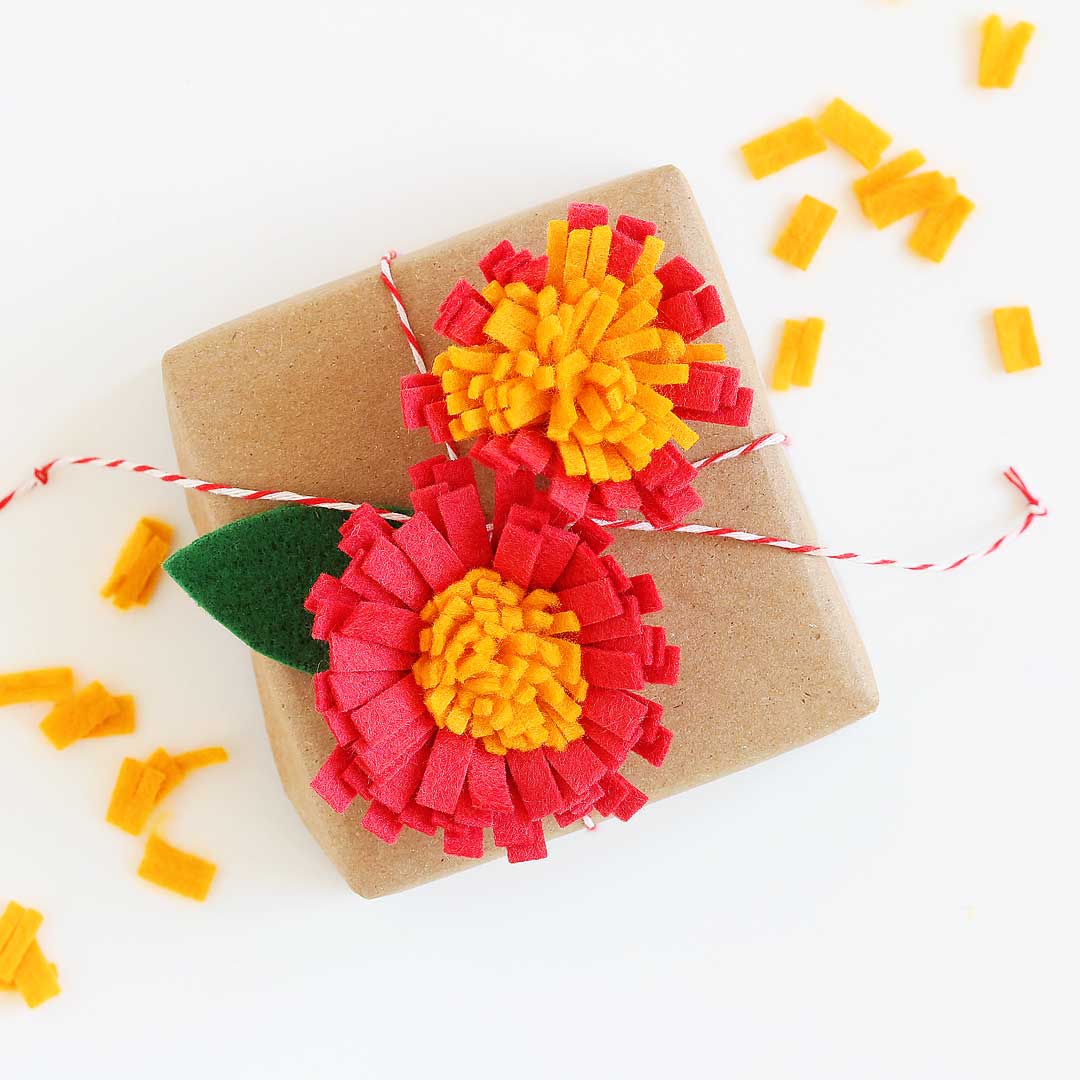
- Decorate a package as shown here.
- Add a pin back and turn them into a brooch!
- Glue some to hair barrettes — I can’t wait to make some for my neice!
- Make a wreath for your door!
I could go on and on but just gonna stop right here! Let me know if you give this a try — I’d love to see!
Supplies
Note that these are my affiliate links so if you make a purchase by clicking the link below I’ll receive a small commission at no charge to you — thank you!


These turned out fabulous! so clever and pretty!