
Hello there and welcome to my stop on the very special #celebrating5years with Mama Elephant Design Team blog hop! This is Day 2 of the 3-day Stampede — make sure you check out Day 1 if you missed it yesterday, trust me, you don’t want to miss out!
I’m honored to be a part of the celebration — I’m so happy for Kryssi and Angela and the whole ME gang! I’ve been friends with Kryssi since before Mama Elephant was born, and then I got to meet Angela at CHA a few years back. They are both just the best, hands down. Congratulations to all of you on FIVE awesome years! YEAH!!!
My Cards
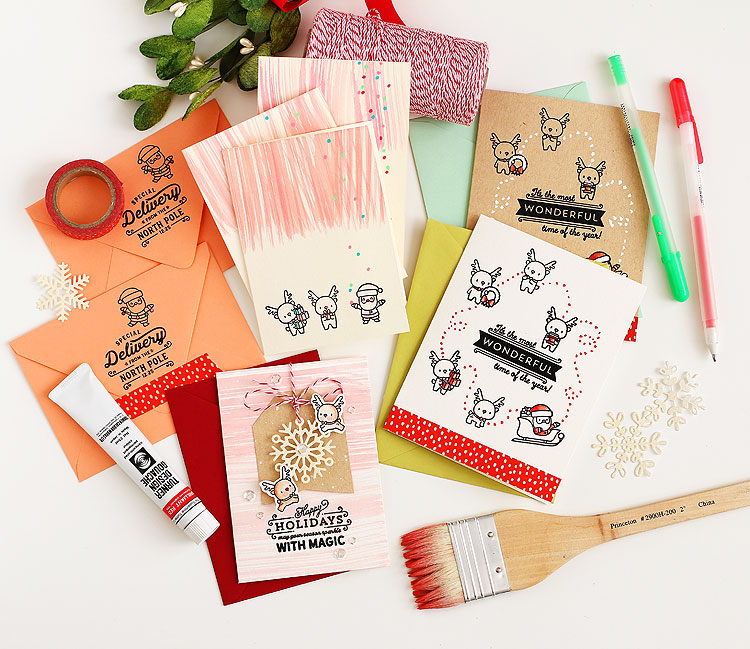
Soooo, I got a little carried away and made a bunch of cards…! If you know me, you’ll know that this happens to me often — I just can’t stop at ONE card, especially when I start playing with awesome new crafty goodies like the ones Mama Elephant sent me!
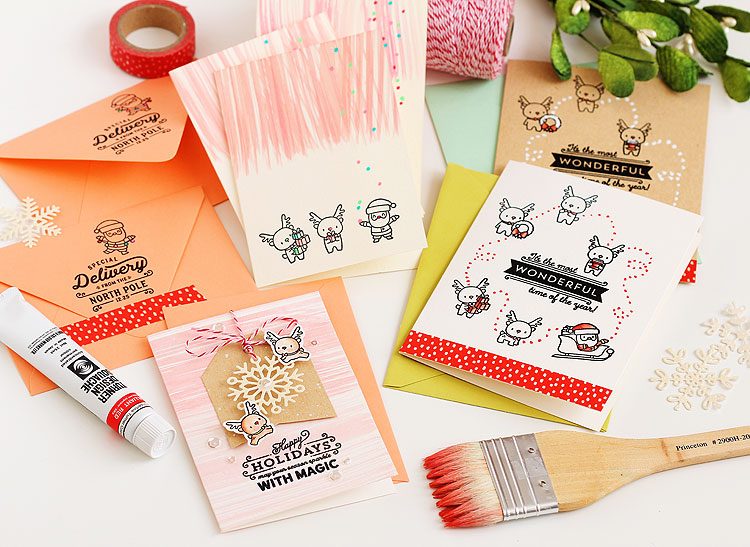
I was sent the Little Reindeer Agenda and Little Santa Agenda stamp sets plus the Snow Flurries die set to play with — love them all! You can find the whole new sweet release right here!
To get started, I made some base cards using a BIG hake brush.
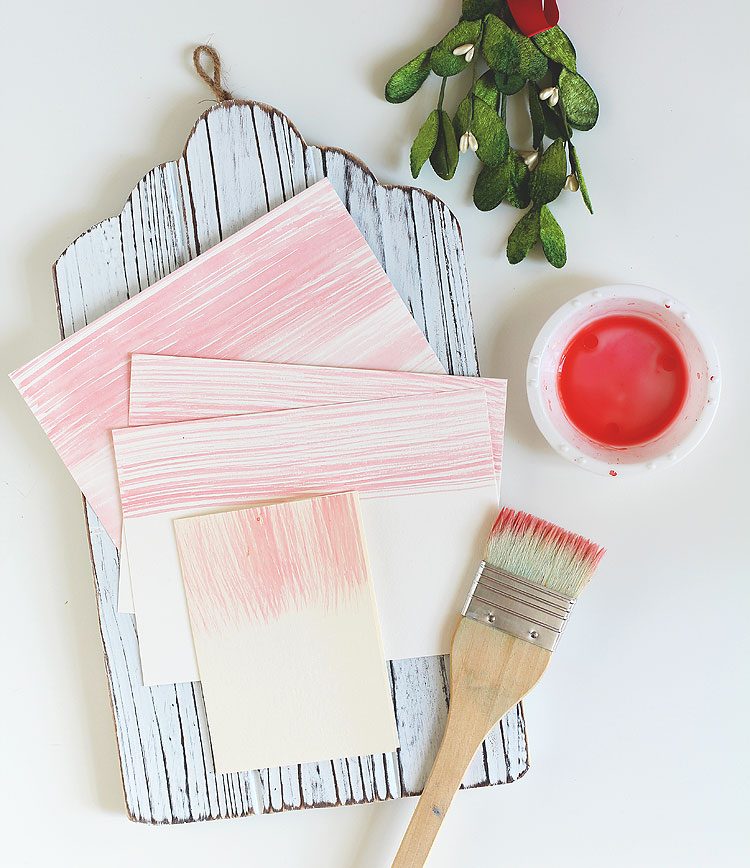
So what’s a hake brush, you ask? It’s brush that is traditionally used for watercolor and can cover large areas at a time. And I do mean large! I use this one by Princeton made of goat hair, or here’s another similar brush that’s a little less expensive. These brushes hold a TON of water and paint and are great for wetting a large sheet of paper with clean water to prep it or to do a big wash.
For my cards, I wet the brush by dipping just the very tippy end in water, then I dried it a little on a rag so that it was damp but not wet. Then I kinda pushed on the bristles to fan some out as shown and I tapped it into coral watercolor that I mixed up and painted it with long strokes across the card.
I think it kinda looks like woodgrain on the horizontal ones, and like garland or streamers hanging down on the vertical!
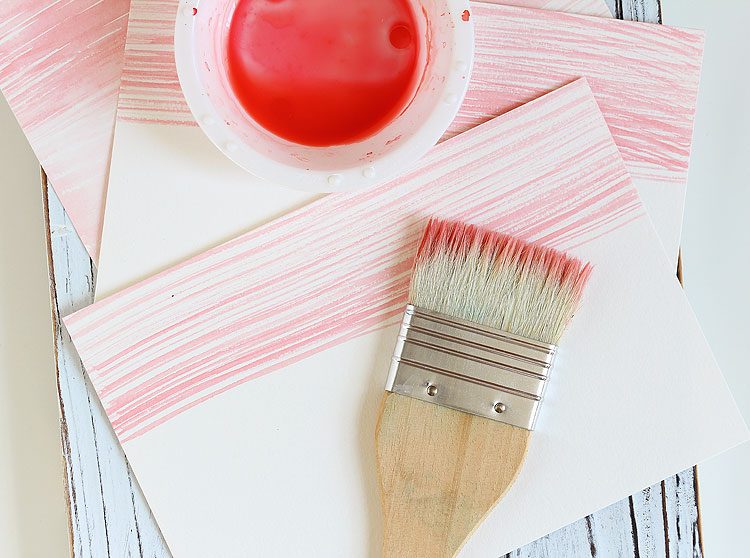
Here’s a little tip — I use that coral color so often that I keep that little container just for that purpose. When the paint dries I can just spritz it with water and it’s good to go again — love that about watercolor!
I let these dry completely and then it was on to the cards!
Confetti Christmas
As soon as I saw the cute Little Reindeer Agenda and Little Santa Agenda sets this card just popped right into my head!
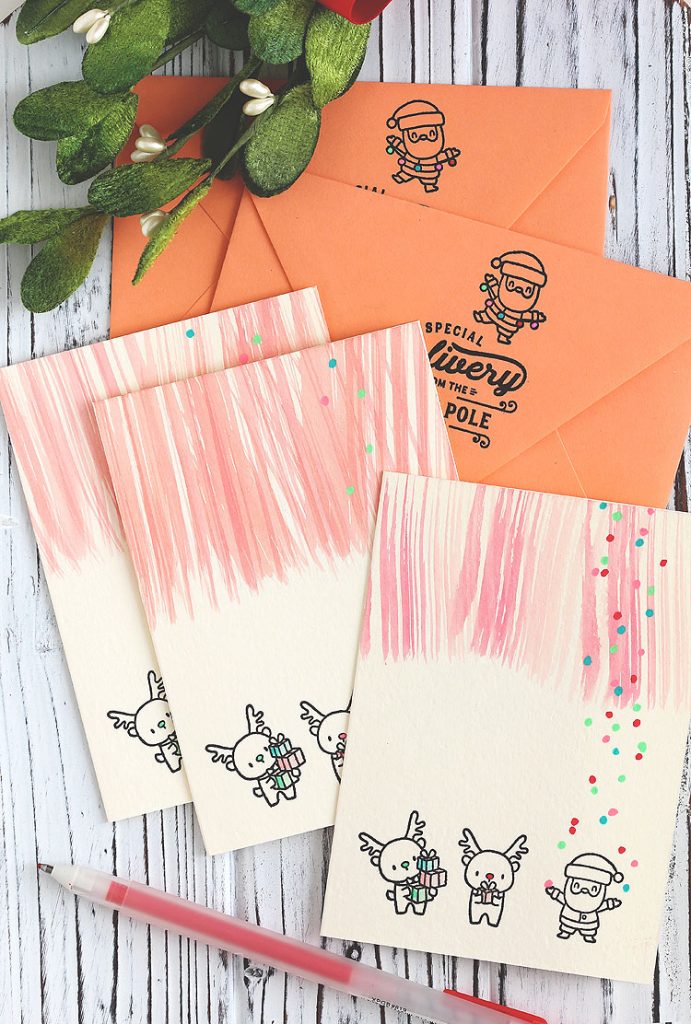
I thought it kinda looked like Santa was throwing confetti up in the air, so I added some with Moonlight gelly roll pens! You guys, this is sooo easy to do and would be a super fun card to mass produce! I used gel pens in red, aqua, lime green and orange for little hits of color. Some of the pens in this Moonlight set are kinda neon-y — love! I also did a little light watercoloring on those packages, too.
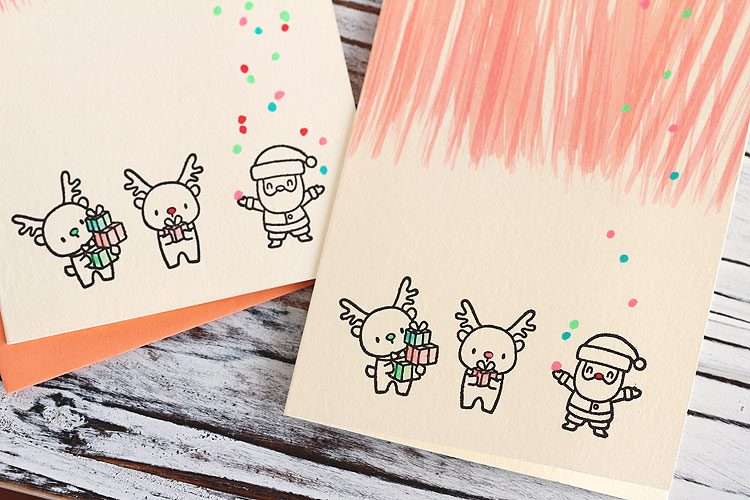
You could add as little or as much confetti as you like! I might have to try this with sequins next!
And! You could put some real live actual confetti inside the card so that when the recipient opens it, it all falls out! Ha!
Speaking of the inside of the card…
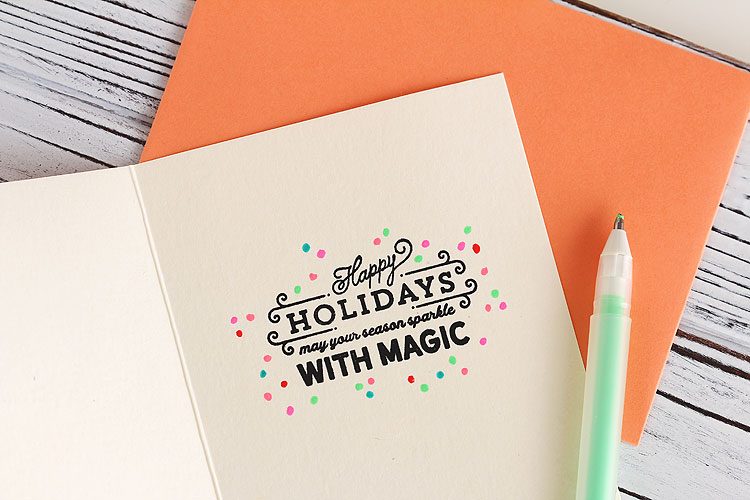
I just had to add a little gel pen action there too! I think this sentiment from the Retro Holiday Labels set works perfectly, right?
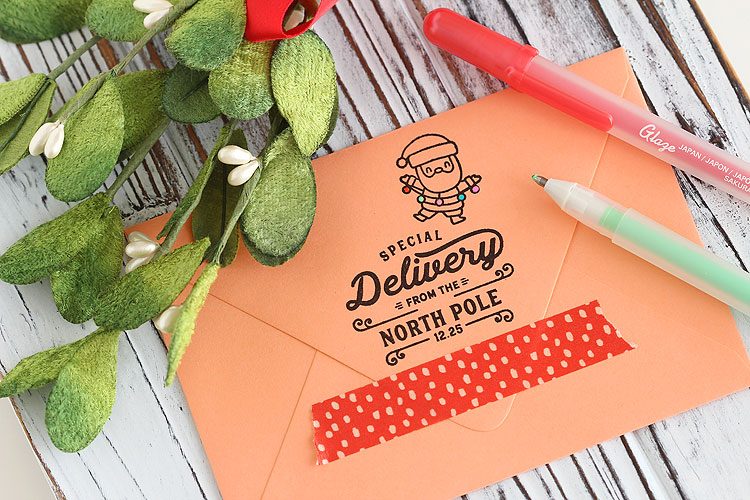
I finished off this set with a fun envelope — I thought Santa looked like he was dancing! I used gel pens to decorate the ornaments he’s holding and to coordinate it with the card. Love it when a plan comes together!
Sparkle With Magic
My next card was a little more complicated, but still one that you could mass produce if you had a little more time.
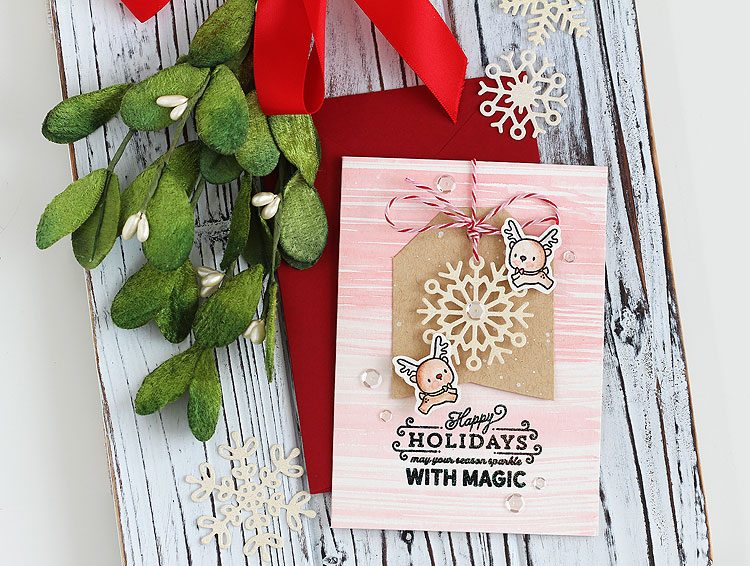
For this one, I had an idea to have those cute reindeer from the Little Reindeer Agenda set “hold” a snowflake! The snowflake is from the Snow Flurries die set and I cut it out of white glitter paper.
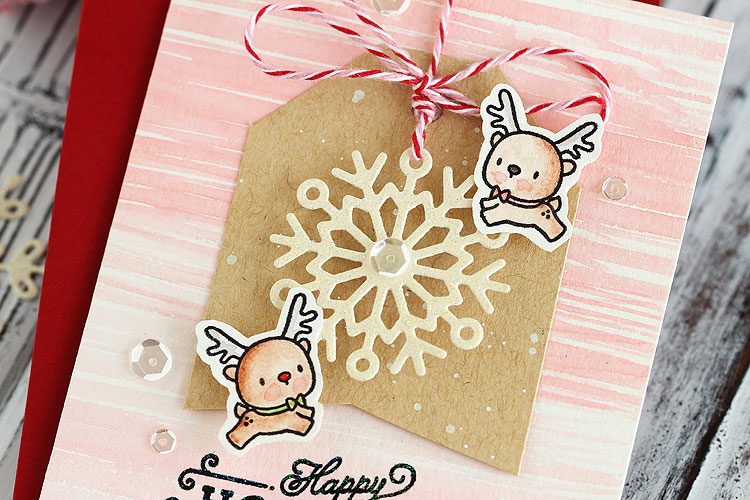
I love how the set has the deer facing in each direction! Yes!!!
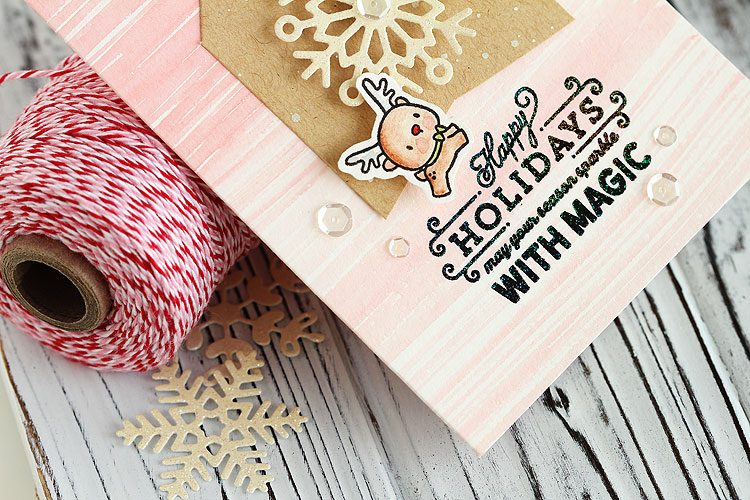
And then I just had to clear emboss the sentiment from the Retro Holiday Labels set with sparkle embossing powder — of course! :)
It’s the Most Wonderful Time of the Year
For my last set of cards I made the same card — two ways! For both of them I positioned the stamps on my MISTI and stamped in black, then heat embossed in clear. But that’s where the similarity ends!
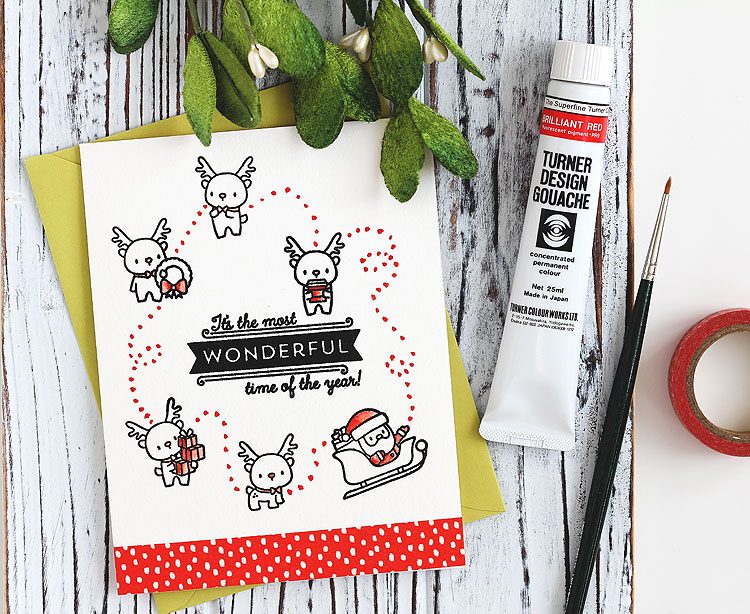
For the first card, I added little “footprints” — er, make that “hoof prints”! — with red gouache, like so:
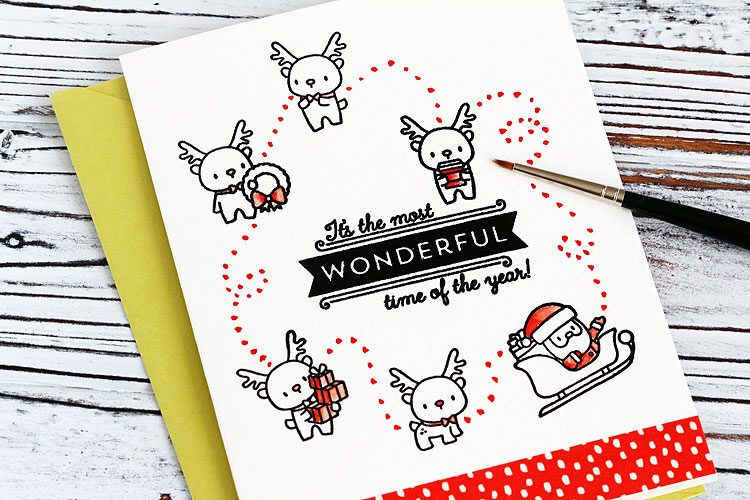
If you’ve never heard of gouache before, you can find out more over in this post. Basically it’s like an opaque watercolor and you can use the same brushes for it! (If you’re looking to get started, this is a good starter set that I have and love!)
I switched from that BIG hake brush I used back in the beginning to this tiny da Vinci size 1 retouching brush. This brush is made for miniature painting and it’s prefect for coloring all the little things! I used it to watercolor the deer in the previous card too!
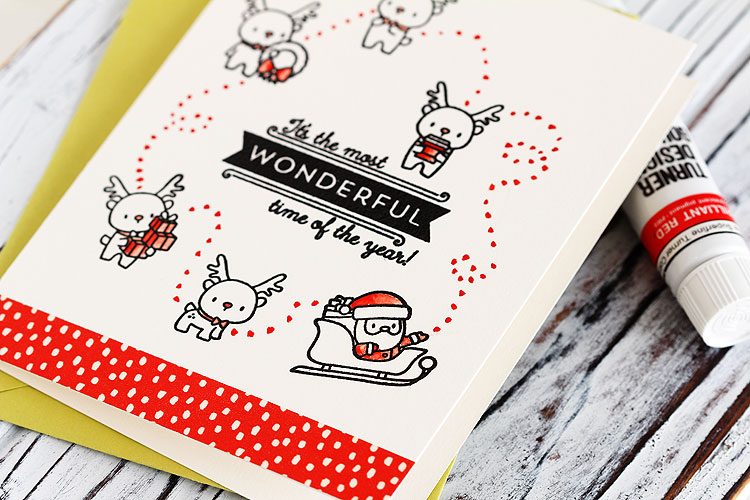
And how about that red coffee cup? I’m thinking I gotta give this card to all the Starbucks fans on my list. Plus, this is another card that would be so fun to mass produce!
I couldn’t stop there though — I just had to try the same design on a kraft card!
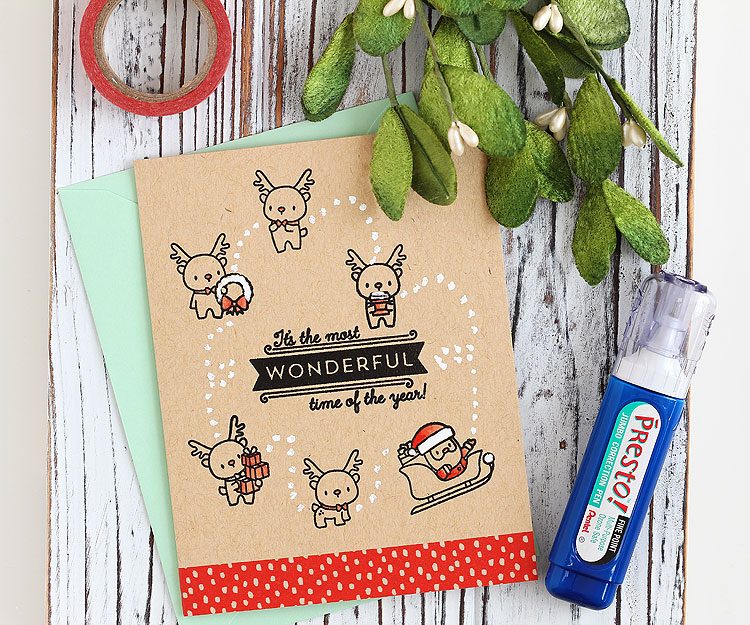
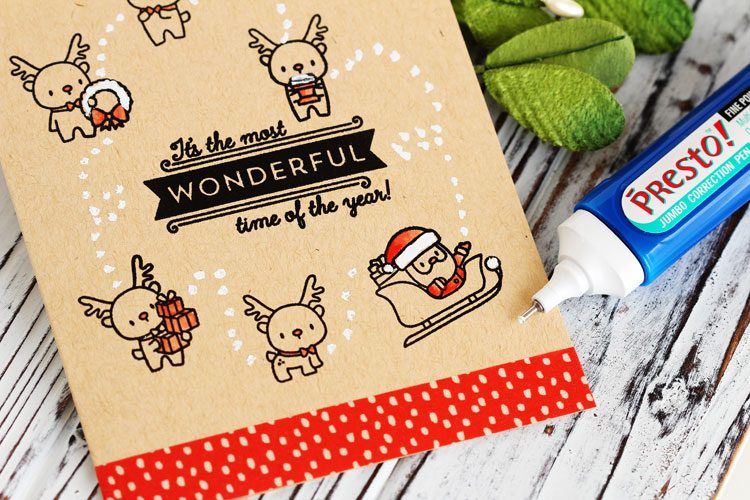
This time in addition to the gouache I used a Pentel Presto jumbo correction pen to add the hoof prints and to add little bits of color here and there.
I’ve never had much luck with white gel pens, even though I’ve tried every brand — but, once I found out about the correction pen I haven’t looked back!
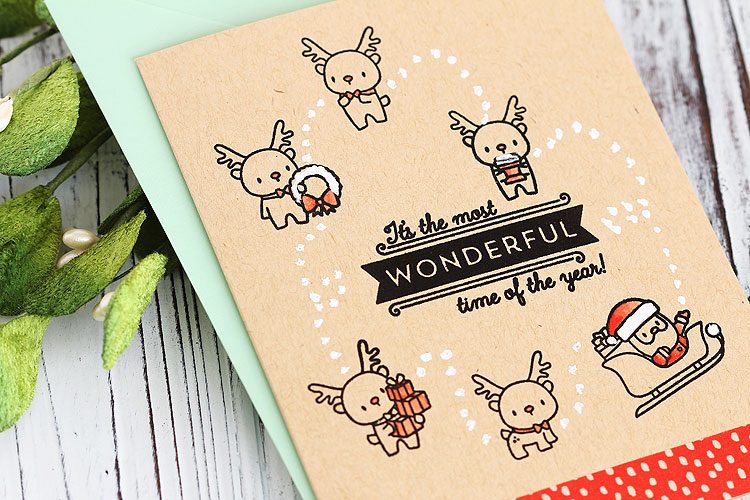
So cute, am I right? There’s just something about white on kraft that gets me every time.
Well, that’s it for my cards! Hope I gave you some ideas to get started on your Christmas cards — Christmas will be here before we know it!
Special Offers
Giveaway!
» 1. Leave a comment on this blog post «
Hop On
Your next stop on the hop is the super talented Amy Yang — I can’t wait to see what she’s made! Here’s the full list for today’s hop in case you are just now joining us or you encounter a broken link:
- Mama Elephant
- Lisa Spangler <<< you are here :)
- Amy Yang
- Debby Hughes
- Pamela Ho
- Kathy Racoosin
Both sets of cards are too cute! Love the hoofprints!
Adorable! Love the confetti and hoofprints!! Such fabulous additions!
Follow/shared ME on Instagram as hmnelson15
Follow/shared ME on Facebook as hmnelson15
These cards are fantastic. I love the look of the hake brush and gelly roll pens – so clean and modern. Love, love, love them!
I follow ME on instagram (yvonnemathews123)
Your cards are all so CUTE!!!! Love them all and Mama elephant:)
So many fun ideas! I had never heard of a hake brush before! Love those adorable Santas and reindeer images. Such a fun release! And a happy 5th anniversary to ME too!
Very cute cards and envelopes!!
These reindeer and Santas are so cute. Your cards are wonderful.
Ah, Lisa…..! Such a great background with that huge brush. Thanks for sharing the technique. Your cards are so sweet – you always take such a unique and fun turn to things. I love it! I always have trouble with gel pens….always clogging up on me, so don’t know about that. I do trust you. Anyway, these are too precious – thanks for the sweet inspiration!
These cards are fabulous! I really like the Innovative use of the brush technique and the white correction pen thanks
Adorable cards! Love the hoofprints & the big brush stripes. Thanks for the tip about the correction pen.
Congrats on 5! Love this little reindeer set. Wonderful variation of card designs.. Thanks for sharing so much with us.
Your cards are amazing – I love these little Santas and reindeer. Thanks for the inspiration!
Love your cards especially the last one in white, so cool and so easy to mass produce.
These cards are just so cute! I especially love the third design. The washi that echoes the look of snow and hoofprints is a brilliant touch.
Gorgeous cards i love your style and creativity
Such clever and cute cards! Love your designs and seeing how you used all the different tools.
All of your cards are so adorable. I see why you couldn’t stop. Thanks for sharing…