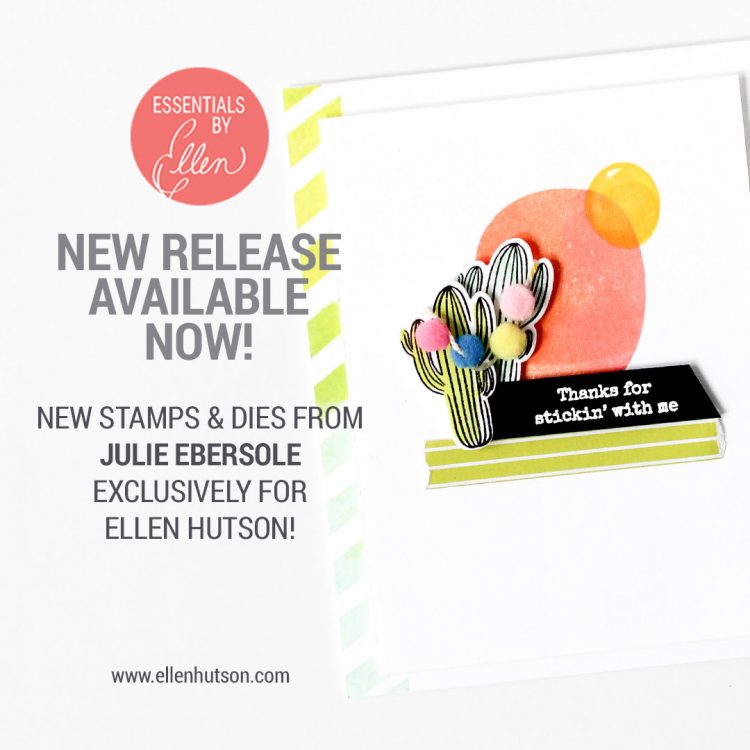
Hey hey and happy FRIYAY! Yep, you read that right: the April Essentials by Ellen release is HERE! I think it’s so good you all! Check out the whole release!
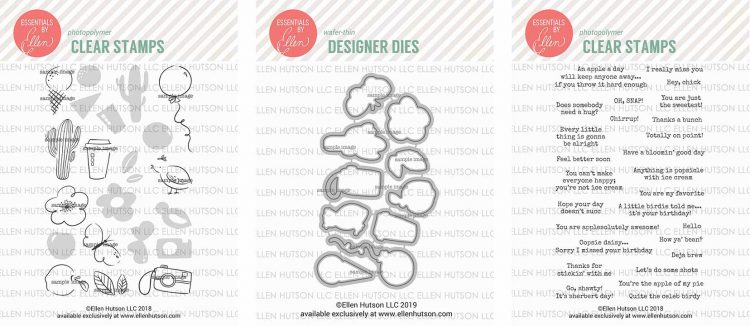
In this post, I’m gonna feature the new Everyday Doodles stamps and matching dies plus the coordinating Everyday Punnies set. These all totally crack me! It has sentiments like “an apple a day will keep anyone away…if you throw it hard enough” ! :)
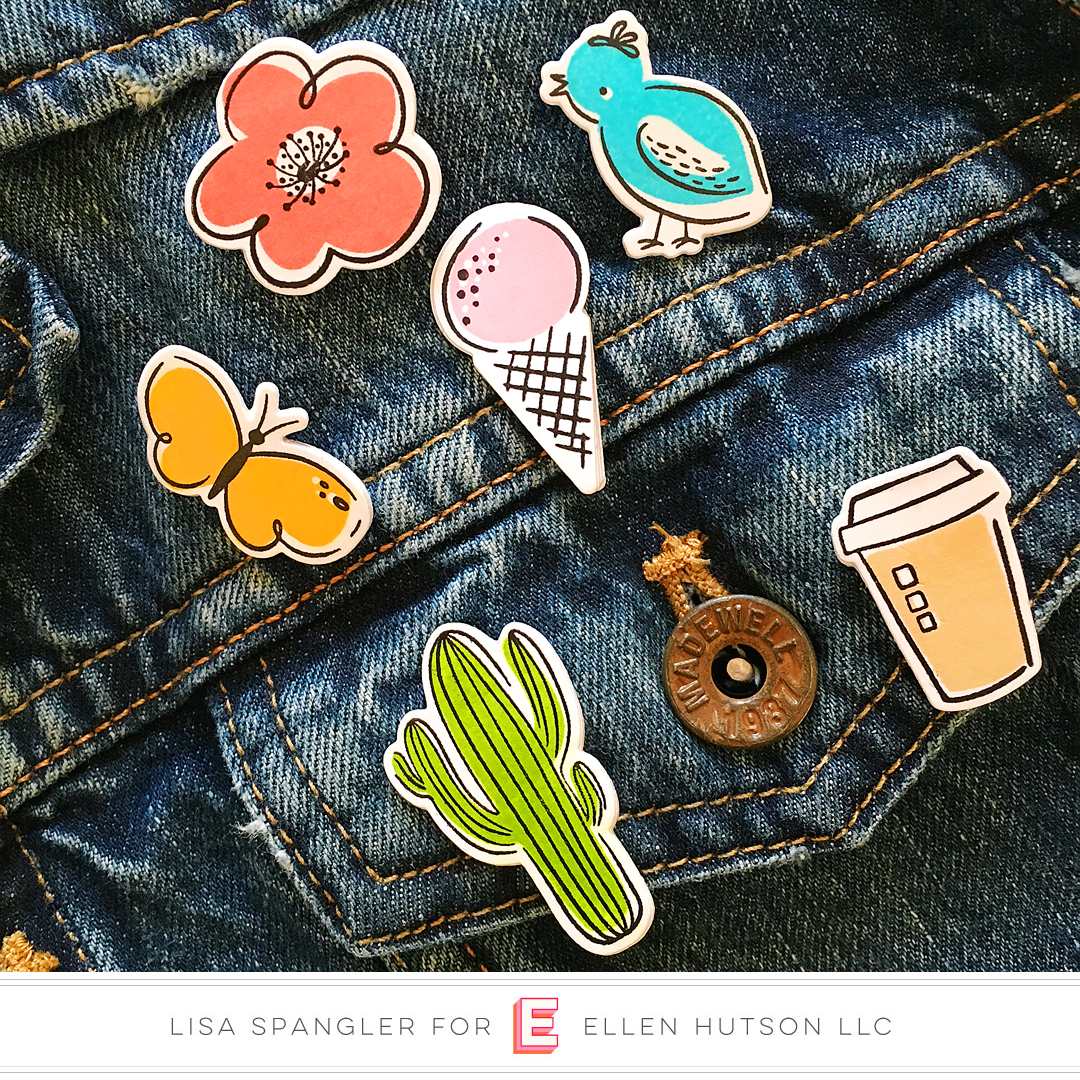
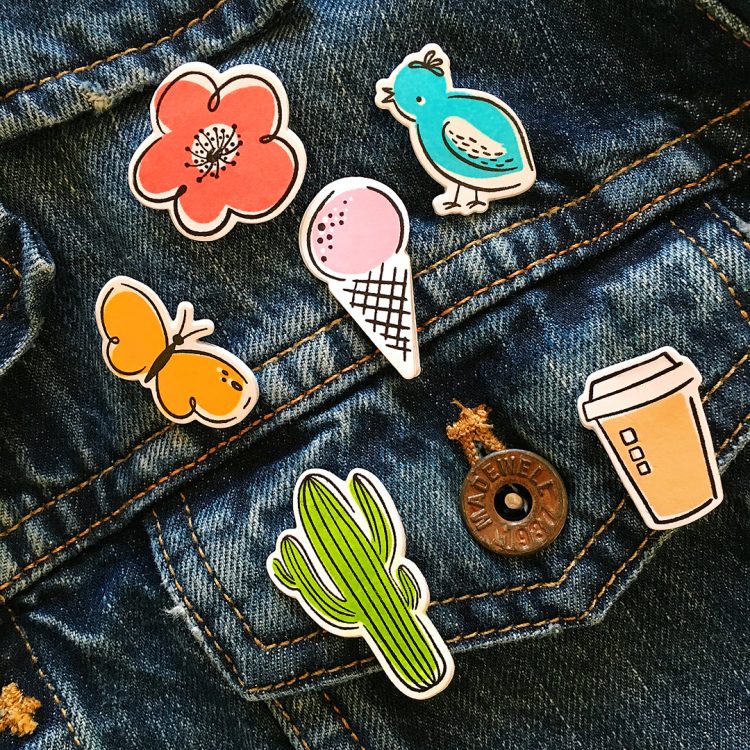
The first thing I thought of when I saw these was that they’d be fantastic for making PINS! One might call them PIN-TASTIC! :)
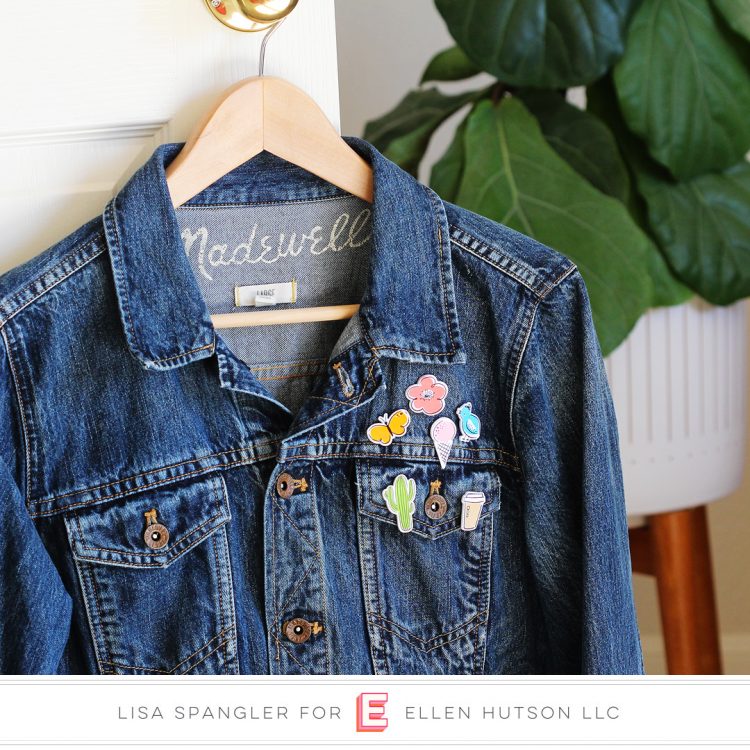
I’ve had so much fun wearing these, but I can’t wait to give them away. After all, I can always make some MOAR!
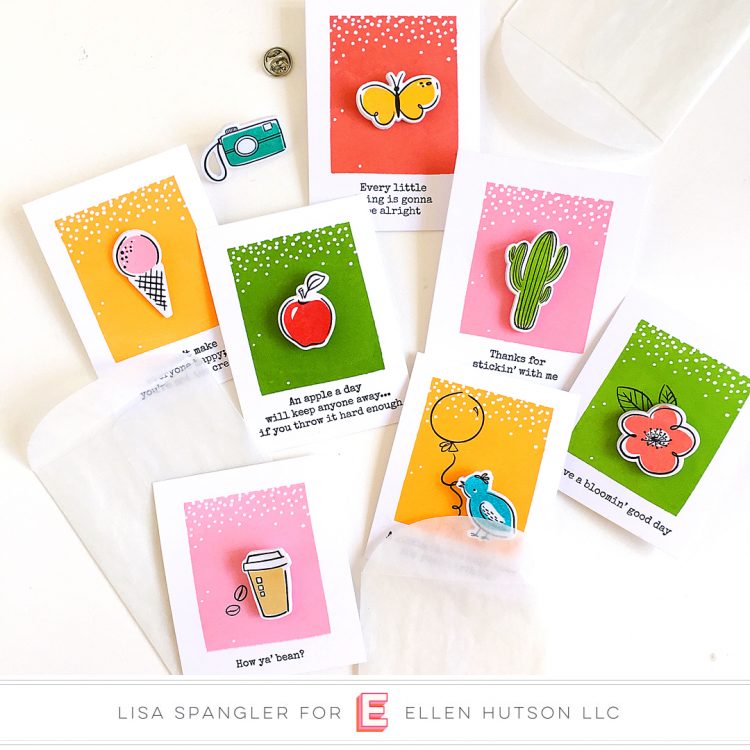
And then! I had the idea to make little backer cards for the pins! The “snowfall” stamp in the trusty EBE Winterscapes set is perfect for this — I mean come on, doesn’t it look like confetti?
I think the Winterscapes set should be renamed to Super Duper Awesome Background set — who’s with me? :)
So, making the pins is really simple! But I thought I’d give ya a quick writeup anyhow.
How To Make Your Own Pin-tastic Collection
Step 1: Stamp and die cut your image, then die cut some extra pieces to stack together to make the piece sturdier. I ended up going with 4 pieces cut from white cardstock + the stamped image.
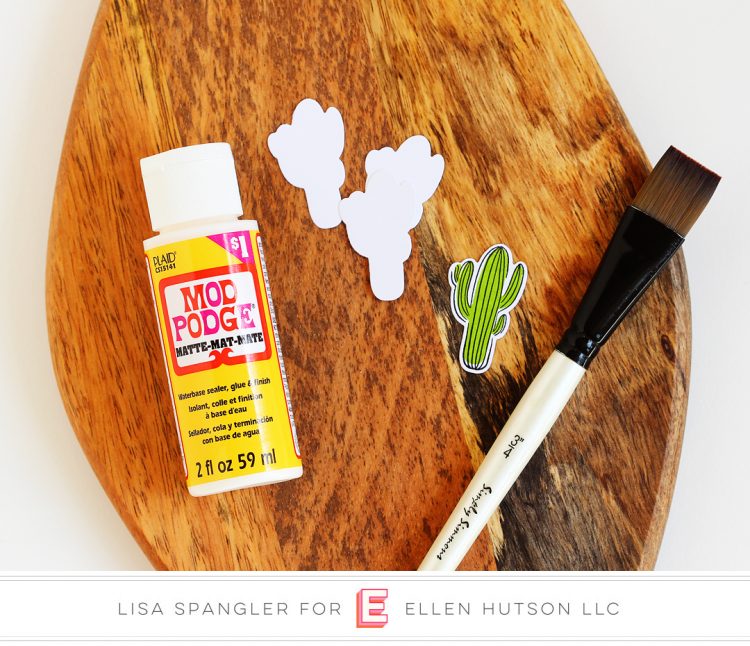
Step 2: Use mod podge or gel medium to adhere the all the pieces together, starting with the bottom piece and working your way up. Put a little extra around the edges to seal them.
Pro tip: if you use a non-permanent ink like I did — (yeah, I had to use those happy vibrant Catherine Pooler inks) — make sure you do the stamped piece last and, and use the biggest brush that you have to adhere the mod podge. Put it on there in one swoop and don’t fiddle with it our you’ll cause the ink to run.
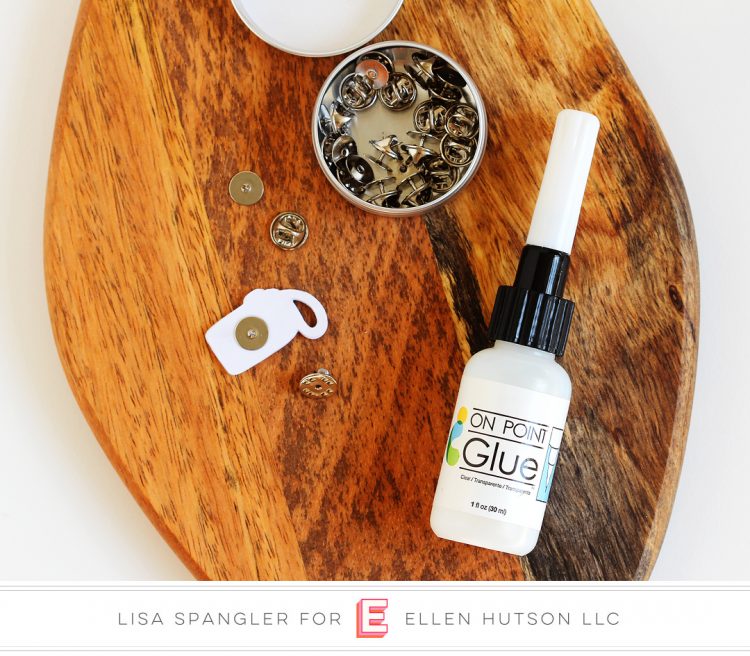
Step 3: Next, adhere a pin back! I used my trusty on point glue and it worked like a charm! (PS. I used these pin backs — they come in a cute lil tin.)
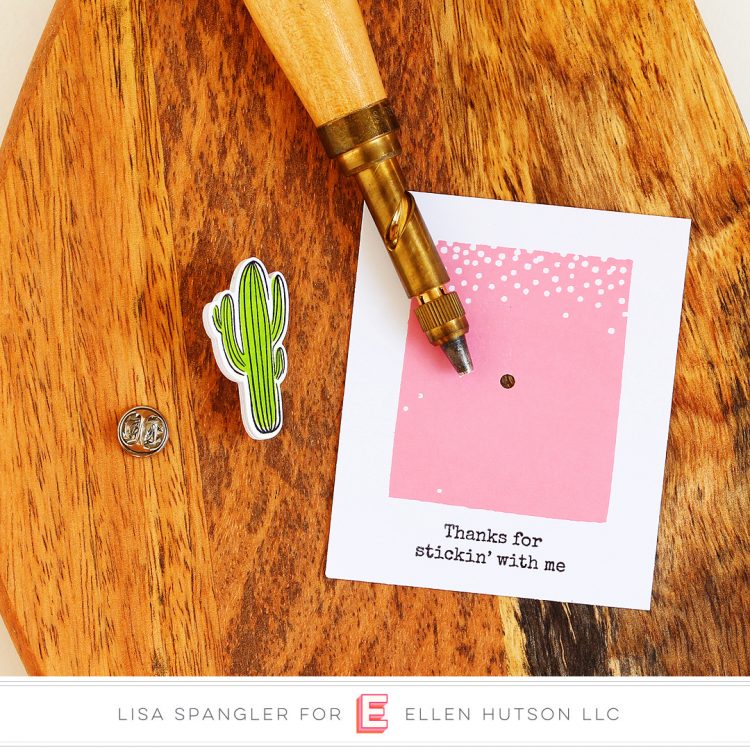
Step 4: Then for the backer card, I just stamped that Winterscapes background and sentiment on white cardstock, then used my Japanese hole punch to add a little hole for the pin to go through. You could also use a long-reach punch, of course.
Step 5: Wear or giveaway!
Slideshow Time!
Here’s a closer look at all of those pins + punny backer cards. And then! I had an idea to put them in a little glassine envelope for gift-giving. Because everything looks more special in a glassine envelope, lol.
[nivoslider id=”16661″]
I think this would be a great project to get the kids involved with. They’d also make fun little party favors, amiright?
Supplies
Note that these are my affiliate links so if you make a purchase by clicking the link below I’ll receive a small commission at no charge to you — thank you!
Find the full release right HERE!
Here are the stars this post — and the whole release imho:
Essentials by Ellen Everyday Doodles stamps and dies and the coordinating Everyday Punnies set — buy ’em in a bundle and save!
And here’s my full supply list, including the Catherine Pooler inks that I used — love:
- Limelight for the cactus
- Party Dress for the ice cream
- Aquatini for the camera — it gives it that retro vibe! :)


Thanks for stickin with me, and hope you have a great day! xo
Lisa, these pins are super fun and cute! Agree with you about the background. They make such cute presentation for the pins.
This is such a fantastic idea! My brain is tumbling through all my stash wondering where to start!